
3D Printer Upgrades (Big Bang for Small Bucks)
In my previous post titled 3D Printing, a Beginners Guide , I mentioned several upgrades which would provide great benefit. In this post I am going to dig into one of those upgrades, which is adding a glass build plate. Many of you may be thinking “I don’t see the need, my metal build plate works fine!”. What you may not realize are some of the benefits of this relatively easy and inexpensive upgrade.
How many times have you had to scrape, pull and prod your print to get it off of the build plate? Working this hard on removing prints often times causes the level of your build plate to skew, leading to time wasted re-leveling. I know it is a fairly simple process, but it can be time consuming and frustrating. Who needs that frustration? With a glass build plate, finished prints pop right off and rarely affect the level of the bed. For that rare occasion were this is not the case, you can simply pick up the glass bed and remove the print away from the printer.
On the flip-side, how about bed adhesion issues? It is early in the morning, the kids are still asleep and you have a little time before rushing off to work to get that 14 hour print started. Filament loaded and print file selected, you kick off your print and head off to work. Later that evening, after dinner, family time and completing a slew of tasks, you finally have a chance to sneak off to your work area and check on your latest masterpiece. Such a large investment in time will surely result in a magnificent print, the likes of which nobody has ever seen. Well, at least one you haven’t seen in person. With the anticipation finally at an end you look at your printer and suddenly your stomach feels as if you are on a broken elevator plummeting to your doom. You end up with something that looks like this:

Not what you were expecting? With a glass build plate, the correct temp and a little hairspray for good measure this will be a thing of the past.
Glass Build plates will also give you extremely smooth surfaces. Have you ever tried printing dice? They look beautiful, until you turn one over and look at the side which printed on the build plate. With a glass build plate, they should look perfect every time.
Let’s start with the things you will need, it is not much of a list.
Glass Build Plate
(For Monoprice Select Mini V2)- 130mm x 160mm Borosilicate Glass Plate Bed Flat Polished Edge w/ Corners Cut for 3D Print
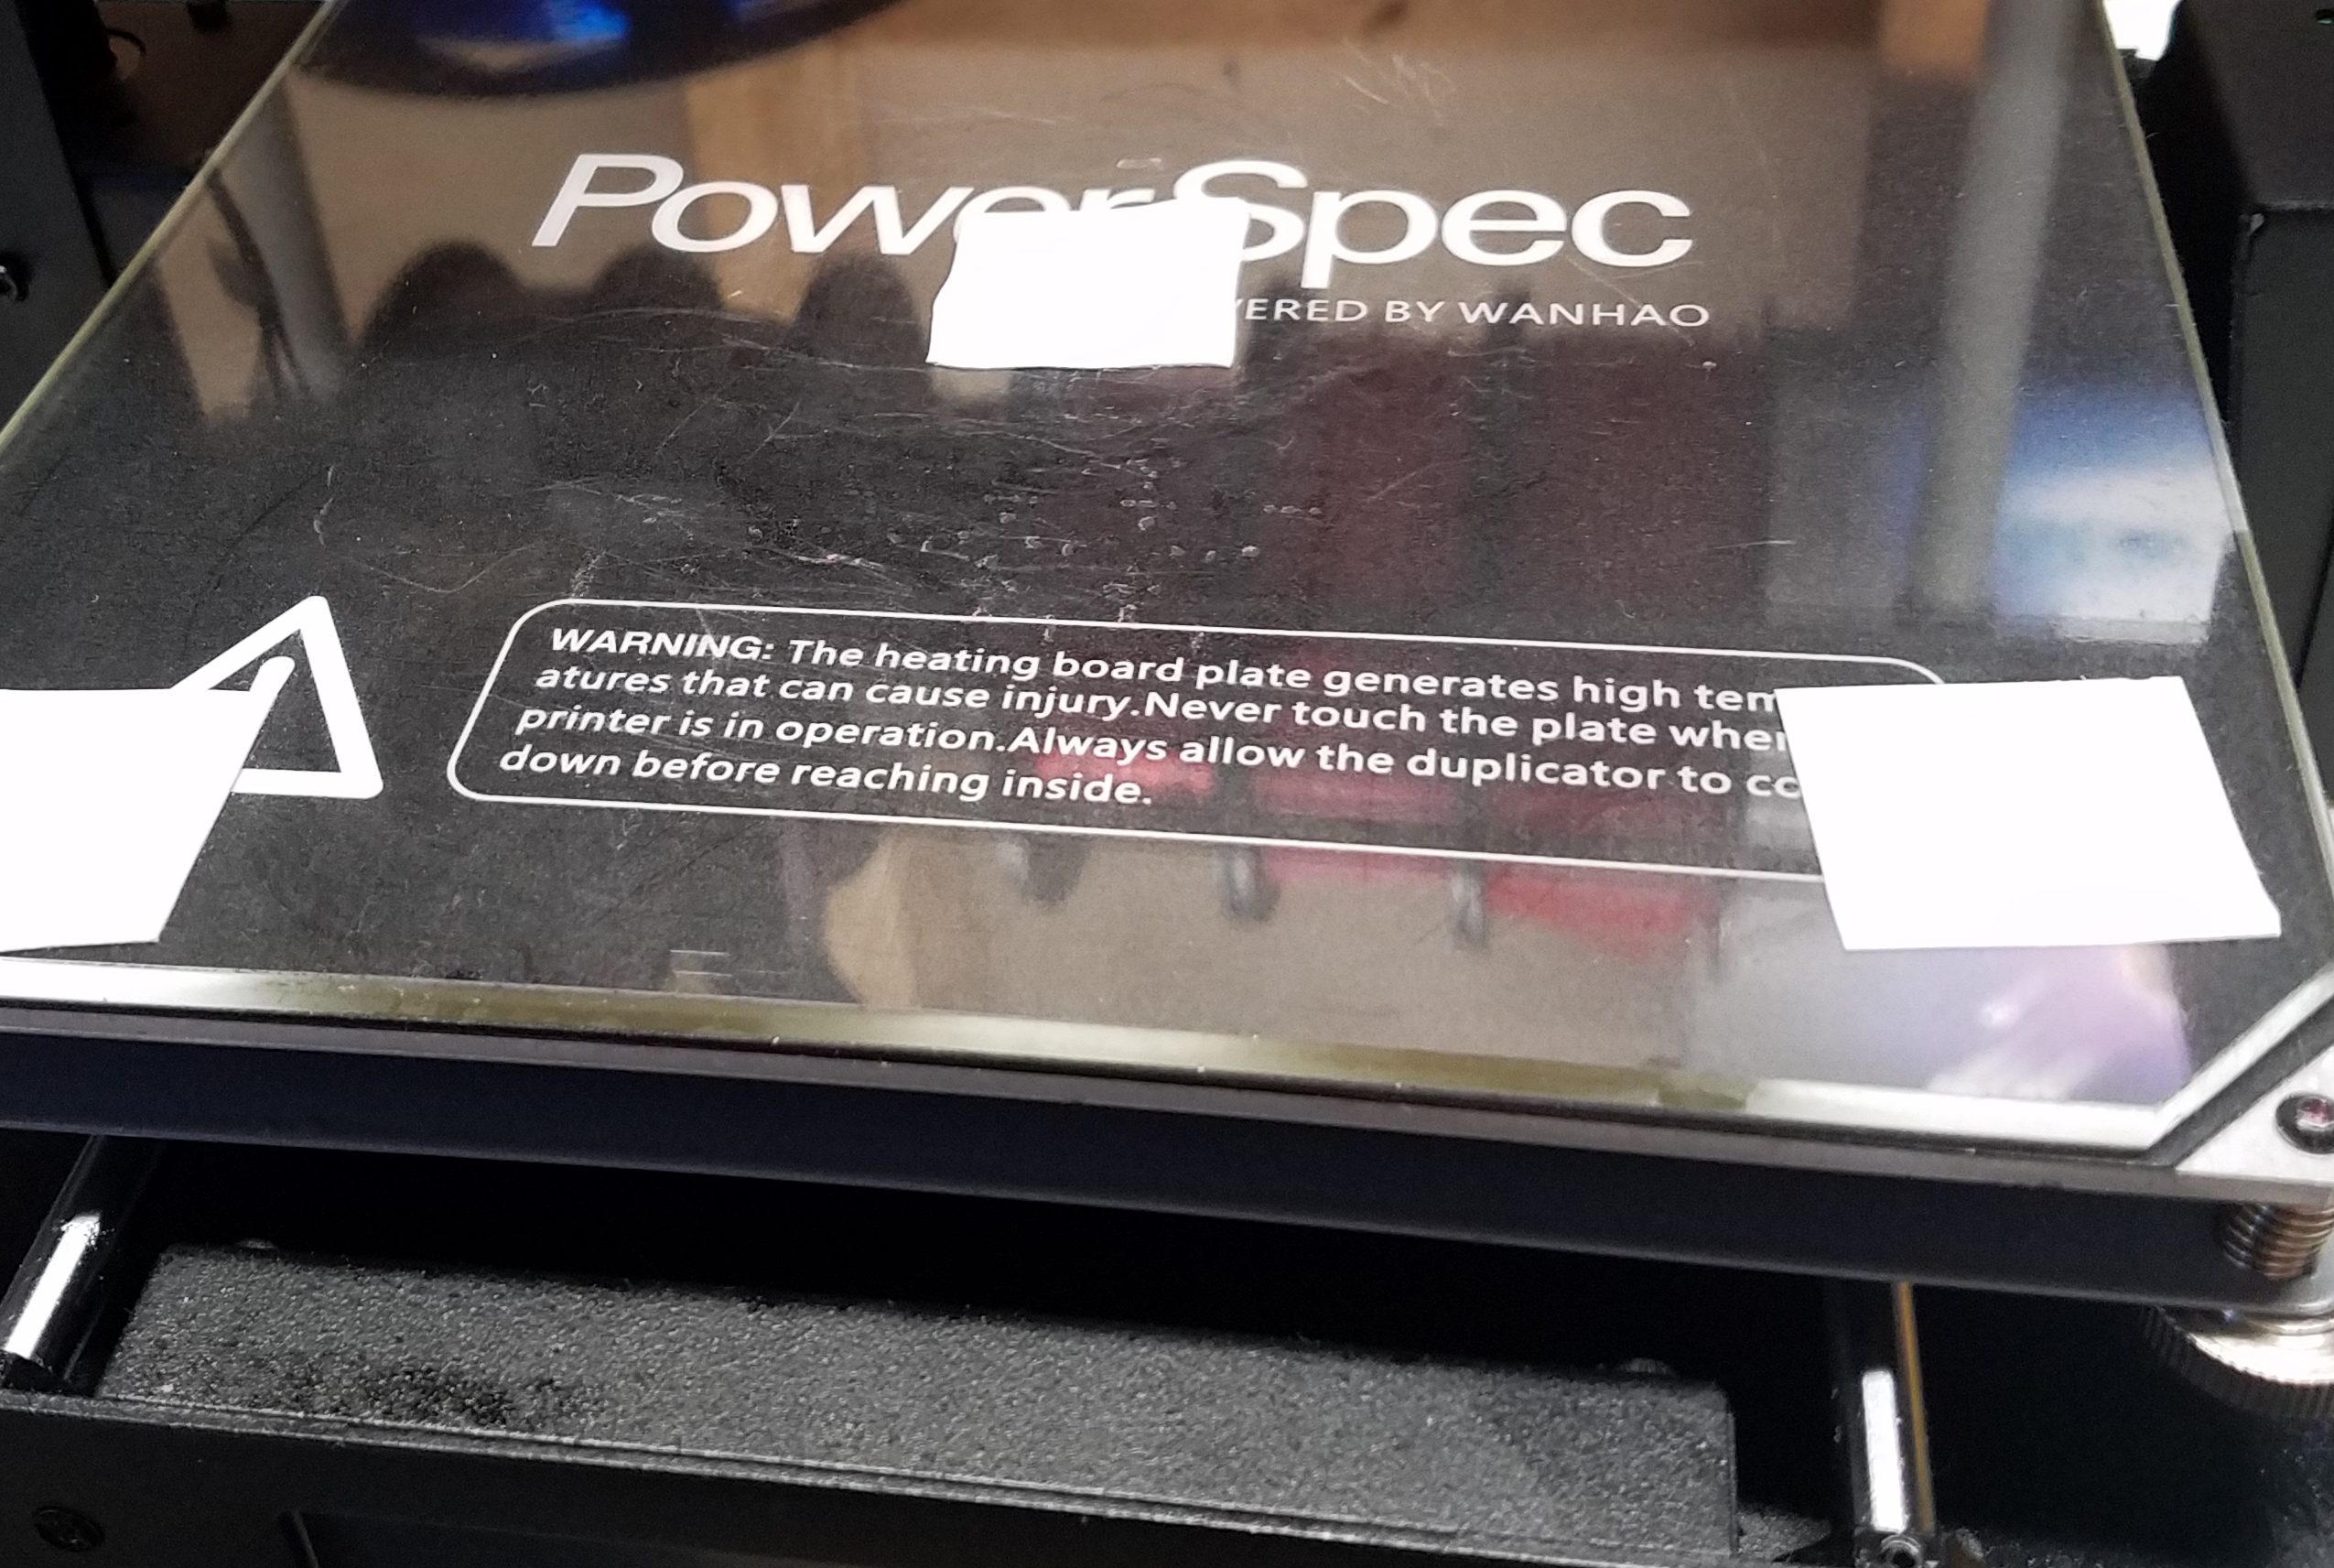
(For Wanhao Duplicator I3 Plus or PowerSpec or other Clone) – [Gulfcoast Robotics] Borosilicate Glass for Wanhao Duplicator i3 Anet A8 MP Maker Select 3D Printers, 4mm Thick.
Silicone Thermal Pad
400mm x 205mm x 0.5mm Silicone Thermal Pad for CPU GPU Heatsink
That covers it for parts. As for tools, you will need some scissors to cut the silicon pad and an allen wrench for the Wanhao printer. If you are upgrading the Monoporice Select Mini V2 you will also need to print a 4mm z-axis spacer. 
Once you have gathered all of the parts, the fun begins. Many other articles on this upgrade ask you to remove the build-tak on your existing build plate. This is not necessary as the glass can sit directly on top of it with the silicone pads in between. Some articles and videos also indicate you should use clips to clip the glass to the build plate. Again, not necessary, as the silicone provides all the adhesion you need, while also allowing for easy removal.
Cut 5 small pieces of the silicone and, starting with a clean build plate, place one in each corner and one in the middle. Now you simply place your glass on top of the build plate.
The next step is to offset your z-height zero adjustment. On the Monoprice Select Mini V2 simply insert the z-spacer you printed.


The Wanhao requires you to adjust the z-limit switch. Start by unscrewing the two screws holding the switch in place. Then re-attach the switch in the middle of the three positions.

The last step is to level the print bed, hopefully something you won’t need to do again for a long time.
Before each each print, ensure the glass is clean then spray a little hairspray on the glass and you are ready to print.
See, I told you it would be simple. Now start enjoying the benefits and print something to make the maker community proud.